Sensory Overload Difficulty Tier List
A practice-first ranking of tunnels and modes of pain.
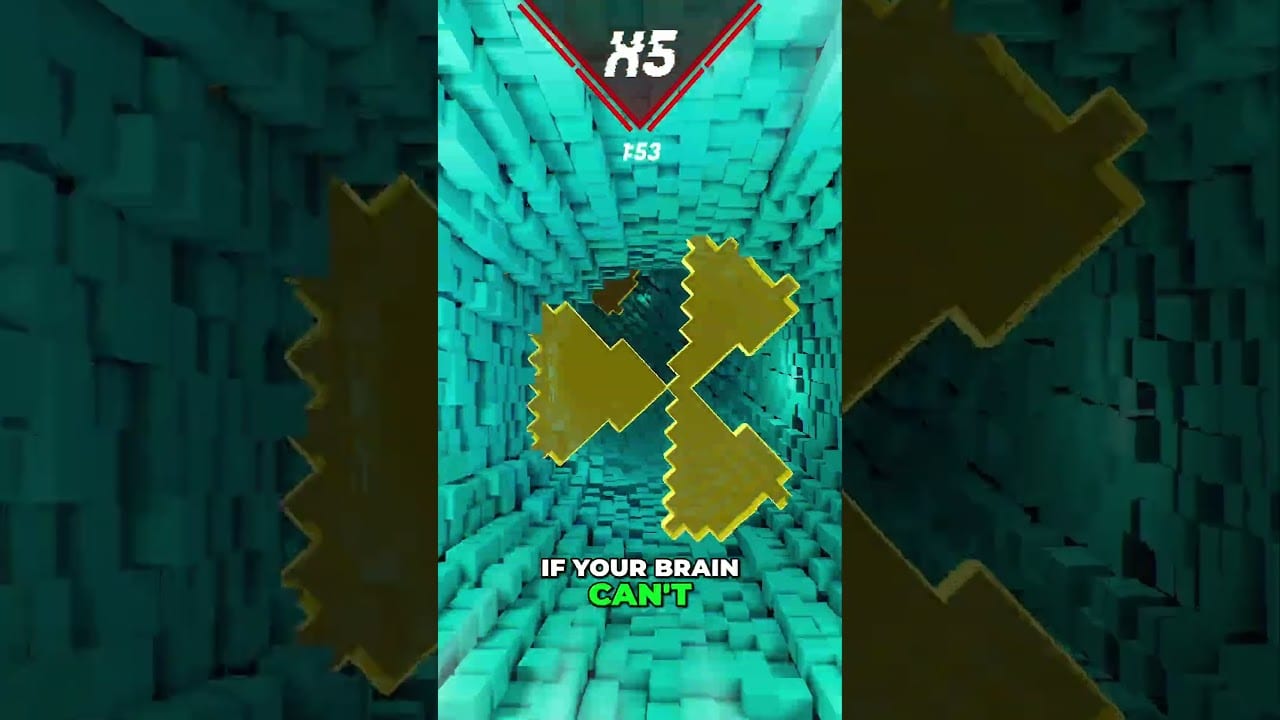
This difficulty tier list ranks Sensory Overload experiences by cognitive load and comfort risk, not by prestige. Use it to plan practice, not to gatekeep. Rankings assume keyboard or controller competence from Controls and basic habits from How to Play.
S tier — foundation you must respect
Vertigo. Lowest mechanical complexity, highest teaching value. Underestimate it and every later tier becomes noise. Guide: Vertigo.
A tier — mid cognitive tax
Nausea. Color camouflage creates “I swear that gap moved” deaths.
Peristalsis. Breathing compression punishes late commitment.
Combined guide: Nausea & Peristalsis.
B tier — concurrency wall
Apocalypse. Stacked layers. Fair if your vocabulary is sharp; miserable if you only vibe. Guide: Apocalypse.
C tier — variance and ego
Finale-style tunnels. Near-impossible combinations and higher run-to-run variance. Expect hundreds of deaths. Bring comfort rules.
Mode modifiers (stack on top of levels)
| Modifier | Effect on difficulty | Page |
|---|---|---|
| Normal | Intended ramp | Normal |
| Zen | Lower pressure, still visually hard | Zen |
| Ranked | Earlier stacks + endurance tax | Ranked |
Comfort risk ranking
Even “easy” tiers can be S-tier nausea for sensitive players. Motion risk does not equal mechanical tier. Always cross-check Motion Sickness Tips and the Comfort Checklist.
Suggested unlock order for humans
- Vertigo clean taps
- Nausea shape anchors
- Peristalsis breath timing
- Light Ranked phase-one attempts
- Apocalypse bursts
- Finale experiments
- Serious Ranked endurance
How to use this list weekly
- Pick one tier below your failure point for warm-up
- Pick your failure tier for focused drills
- Do not skip downward tiers when Ranked tilt spikes
- Re-read Levels Hub if you lose the map
Caveats
- Demo content may not expose every finale identically to the August 20, 2026 release
- Patches can retune pacing — watch Updates
- Personal vestibular sensitivity can reorder comfort risk entirely
This list exists to replace vague advice like “just get good” with a queue. If you know your tier, you know tonight’s homework.
Using tiers without ego injury
Moving down a tier is not demotion; it is diagnostics. Surgeons rest sterile technique before flashy procedures. If Ranked ego forbids down-tiering, use Zen branding to make fundamentals feel like a different sport. The list is a map, not a leaderboard of your identity.
How to use this list with Practice Mode
Do not climb the tier list like a prestige ladder. Climb it like a syllabus:
- Clear the current tier’s teaching page until taps feel boring
- Isolate the hardest gate of that tier in Practice Mode
- Validate a full route in Normal
- Only then peek at the next tier for five minutes
- Stop if comfort signals fire (Comfort Checklist)
Accessibility and perceived difficulty
Outline brightness and speed-line toggles change how hard a tier feels without changing geometry. Log which preset you used when you rate a level, or your personal tier notes will lie after the next patch (Patch Notes, Accessibility Settings).
Ranked versus campaign tiers
Ranked can make mid-campaign tiers feel like Apocalypse early. That is pacing, not a rewrite of this list. Keep campaign ratings for Normal learning and use Ranked Mode pages for exam pacing. Editor maps should declare which campaign tier they resemble — see Level Editor.
Frequently Asked Questions
Quick answers for demo and launch questions.
Is Vertigo really low tier if I keep dying?
Mechanically yes. Persistent deaths usually mean fundamentals, not a mis-tiered level.
Where does Ranked sit on the list?
As a modifier that can raise any level’s effective difficulty by stacking effects earlier.
Will the full game change tiers?
Possibly with new tunnels and patches. Revisit Updates after launch.